How to set up Apple Pay on Mac (non TouchID)

According to Bailey, Apple Pay availability was limited to about 3 percent of stores in the U.S. when it launched in 2014, but is now accepted in 50 percent of stores.
AppleInsider
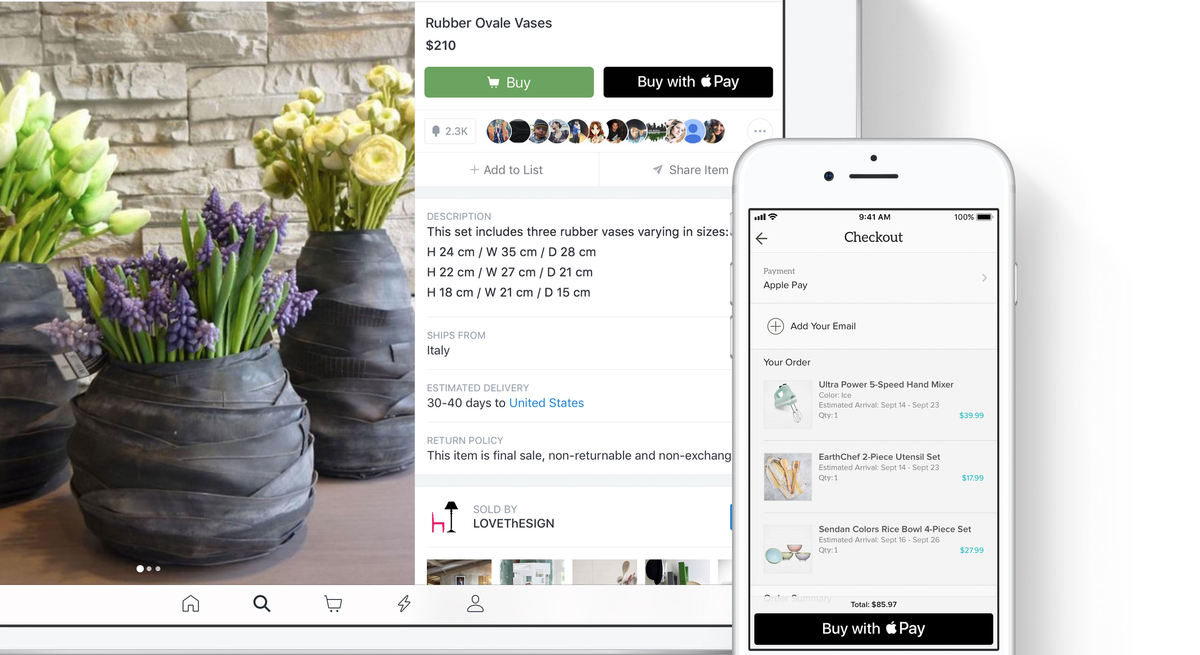
Many eCommerce companies use Stripe to collect monies from customers. It’s a great service that takes care of many things (good test documentation) including allowing businesses to accept Apple Pay. Accepting Apple Pay means we need to test it, which I’ve been doing mostly from my iPhone. However I’ve been wanting to test it on my laptop and that means enabling it on macOS for Safari.
These instructions are for non TouchID macs (e.g. 2015 MacBook pros). If you have a Mac with TouchID you can go to Apple’s website for easy set up.

Steps to enabling Apple Pay on non TouchID Macs
- On your iPhone confirm Apple Pay is active. If not set it up here.
- On your Mac sign-in to iCloud using your Apple ID. Without this you won’t have access to your Wallet’s cards.
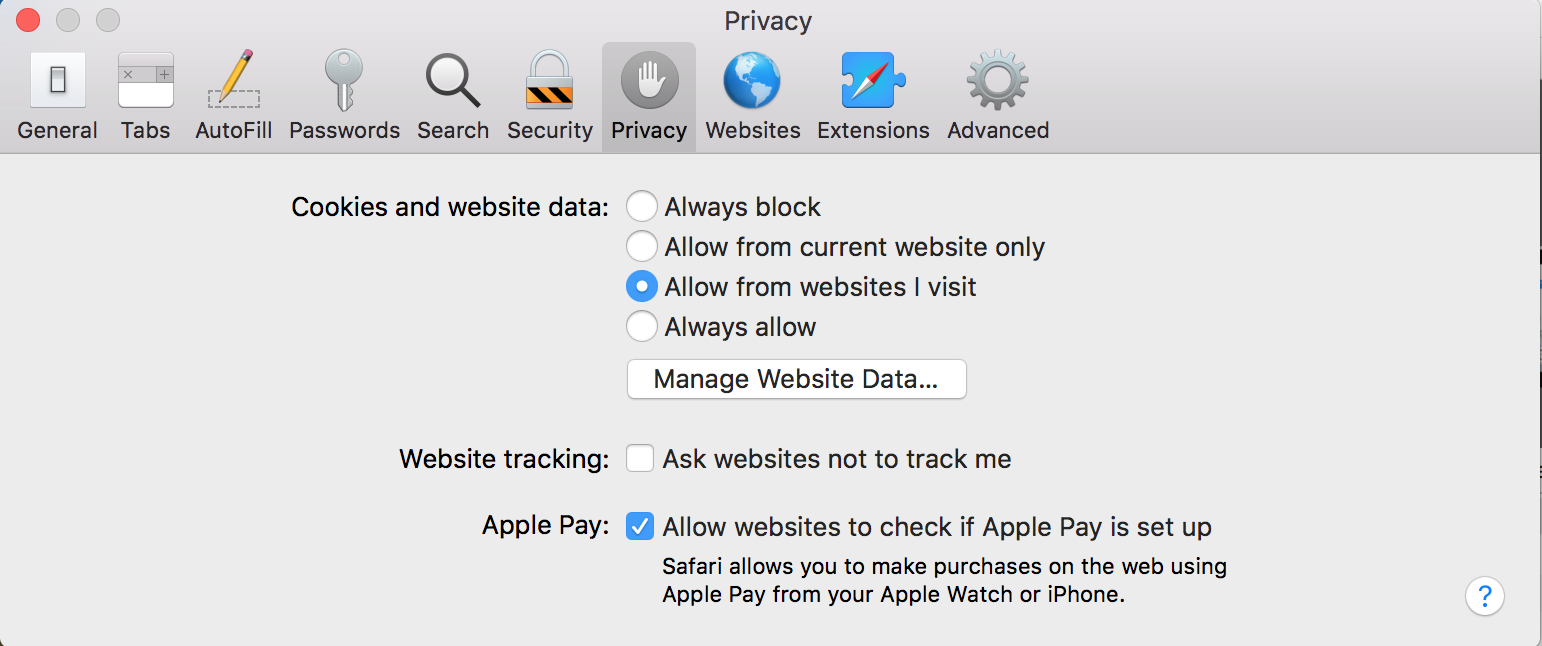
- Allow websites to check if Apple Pay is set up on Safari.
- In Safari go to the menu called Safari > Preferences > Privacy > look for the Apple Pay section. (See the image below)
- Note: It can take about 5-10 minutes to propagate after you sign-in to iCloud.
- Note 2: You might need to connect your iPhone to your Mac for this option to appear.
- Done! Any website or app with Apple Pay enabled for checkouts will render an Apple Pay button as a checkout option. To test this you can go to Stripe’s Apple Pay website and test it out. (Don’t worry purchases happen in their test environment.)
- There are a few caveats:
- This only works in Safari
- You can only complete the purchase if your iPhone is connected to your Mac. Apple Pay requires TouchID to authorize the purchase.

If you enjoyed reading this article or gained some insight from it, please consider following me on twitter, sharing it or buying me coffee!
Note: this article is out of date.
